
Reviving old floors is a rewarding project that can breathe new life into a space, adding character and value to your home. Whether dealing with hardwood, laminate, or engineered wood floors, the process of restoration and refinishing can transform worn, damaged floors into beautiful surfaces that look almost new.
Here, we will walk you through the essential steps involved in assessing the condition, preparing and cleaning, sanding and repairing, and finally, refinishing your old floors.
Assessing the Condition
Before diving into the restoration process, it’s crucial to thoroughly assess the condition of your floors. This step will help you determine the extent of the work required and identify specific issues that need attention.
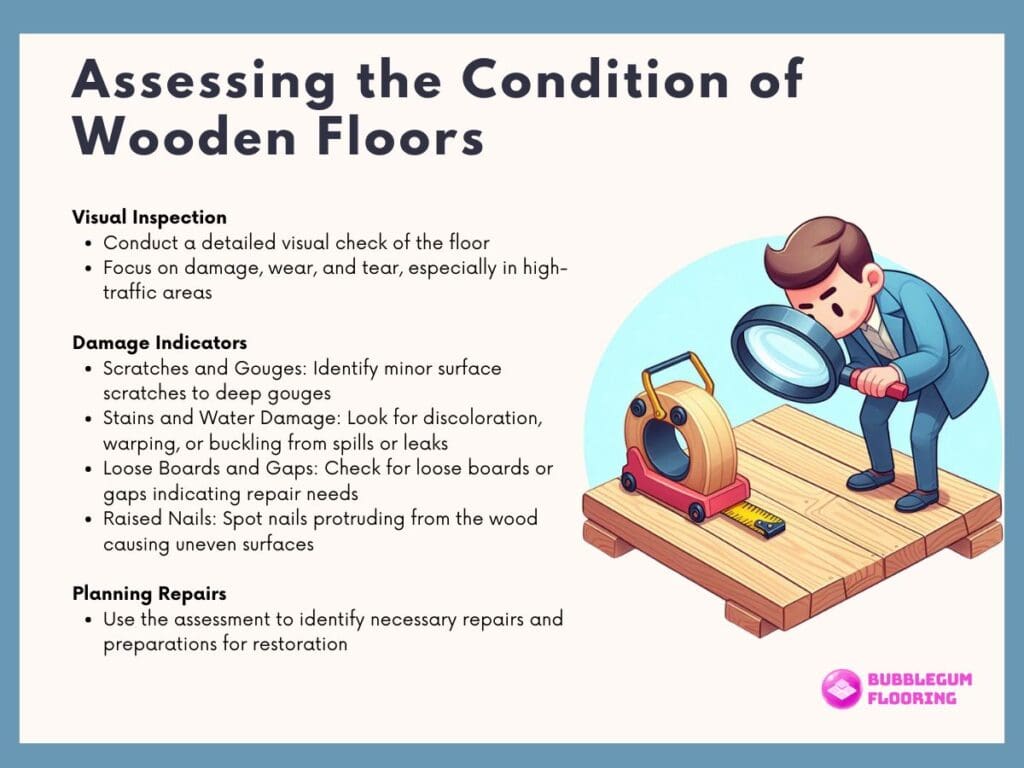
Visual Inspection
Begin with a detailed visual inspection of the floor. Look for signs of damage, wear, and tear that indicate the floor’s overall condition. Pay close attention to high-traffic areas where damage is often more pronounced.
Damage Indicators
During your inspection, keep an eye out for common damage indicators such as:
- Scratches and Gouges: These can range from minor surface scratches to deep gouges that penetrate the wood.
- Stains and Water Damage: Look for discoloration caused by spills, pet accidents, or water leaks. Water damage can also lead to warping or buckling of the wood.
- Loose Boards and Gaps: Check for boards that have come loose or gaps between them, which can indicate the need for repair or replacement.
- Raised Nails: Nails that have worked their way up from the wood can create an uneven surface and pose a hazard.
By thoroughly assessing the condition of your floors, you can create a plan that addresses all the necessary repairs and preparations for a successful restoration.
Preparation and Cleaning
Proper preparation and cleaning are essential for achieving a smooth, flawless finish. This stage involves removing any old finishes, thoroughly cleaning the floor, and ensuring it’s ready for sanding and repair.
Thorough Cleaning
Start by removing all furniture and rugs from the room. Use a vacuum to clean up loose dirt, dust, and debris. Follow up with a tack cloth to pick up any remaining particles. A clean surface is crucial for effective sanding and refinishing.
Removing Old Finish
If your floors have an old finish, you’ll need to strip it off before sanding. There are various methods for removing old finishes, including chemical strippers and sanding. Chemical strippers can be effective but may require careful handling and ventilation. Sanding with coarse-grit sandpaper can also remove old finishes, but it requires more effort and generates dust.
Sanding and Repair
Sanding and repair are critical steps in the restoration process, as they smooth out imperfections and prepare the floor for refinishing.
Sanding
Sanding is a multi-step process that involves using drum or orbital sanders with progressively finer grits of sandpaper. Begin with a coarse grit to remove old finishes and level the surface.
Move on to medium and fine grits to achieve a smooth, even finish. Sanding not only removes surface imperfections but also opens up the wood’s pores, allowing the new finish to adhere better.
Repairing Damaged Areas
During the sanding process, you’ll likely uncover areas that need repair. Common repairs include:
- Filling Gaps and Cracks: Use wood filler or epoxy resin to fill gaps, cracks, and holes. Smooth out the filler with a putty knife and sand it down once it dries.
- Replacing Damaged Boards: If you find boards that are too damaged to repair, consider replacing them with new boards that match the existing flooring. Carefully remove the damaged boards and install the new ones, ensuring a snug fit.
Refinishing
With the floor sanded and repaired, the final step is refinishing, which involves applying a new finish to protect the wood and enhance its appearance.
Choosing the Finish
There are several types of finishes to choose from, each with its characteristics:
- Oil-Based Polyurethane: Provides a durable, glossy finish that enhances the wood’s natural color. It takes longer to dry and may emit strong fumes.
- Water-Based Polyurethane: Dries quickly, has a low odor, and provides a clear, hard finish. It is an excellent choice for households with children or pets.
- Wax: Offers a low-sheen, natural-looking finish but requires regular maintenance and reapplication.
- Penetrating Oil Sealer: Soaks into the wood, providing a matte finish and enhancing the grain’s appearance. It requires periodic maintenance.
Applying the Finish
Before applying the finish, make sure the floor is clean and free of dust. Follow these steps for a professional-looking finish:
- Stir the Finish: Mix the finish thoroughly to ensure uniform consistency.
- Apply the Finish: Use a brush, roller, or applicator pad to apply the finish evenly. Work in small sections to avoid lap marks and ensure full coverage.
- Let It Dry: Allow the finish to dry according to the manufacturer’s instructions. This may take several hours or overnight.
- Buff the Surface: Once the first coat is dry, lightly buff the surface with fine-grit sandpaper or a floor buffer to smooth out any imperfections.
- Apply Additional Coats: Apply at least two to three coats of finish for optimal protection and appearance, allowing each coat to dry thoroughly before adding the next.
Staining and Finishing
Once the floor has been sanded and repaired, you can move on to staining and finishing to enhance the wood’s appearance and protect it from future damage.
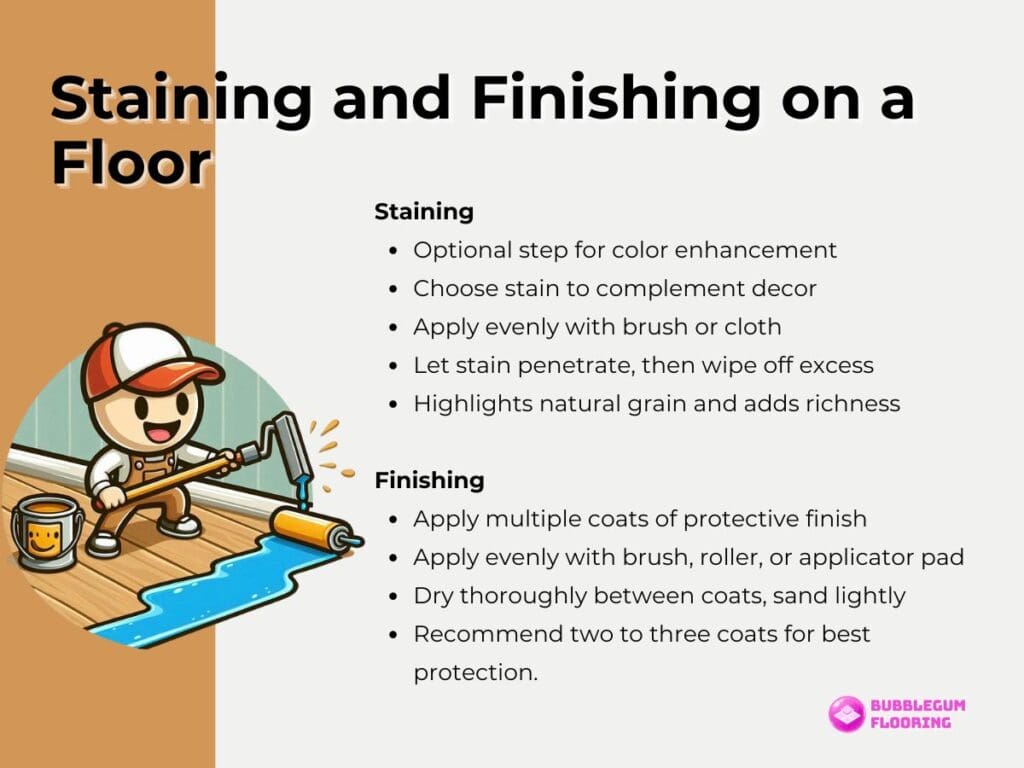
Staining
Staining is an optional step that allows you to change or enhance the color of your wood floors. Choose a stain that complements your decor and apply it evenly with a brush or cloth. Allow the stain to penetrate the wood for the recommended time before wiping off any excess. Stains can highlight the wood’s natural grain and add richness to its color.
Finishing
The finishing step involves applying multiple coats of a protective finish to seal and protect the wood. Common finishes include:
- Oil-Based Polyurethane: Provides a durable, glossy finish that enhances the wood’s natural color. It takes longer to dry and may emit strong fumes.
- Water-Based Polyurethane: Dries quickly, has a low odor, and provides a clear, hard finish. It is an excellent choice for households with children or pets.
- Wax: Offers a low-sheen, natural-looking finish but requires regular maintenance and reapplication.
- Penetrating Oil Sealer: Soaks into the wood, providing a matte finish and enhancing the grain’s appearance. It requires periodic maintenance.
Apply the finish evenly with a brush, roller, or applicator pad, working in small sections to avoid lap marks. Allow each coat to dry thoroughly before applying the next, lightly sanding between coats to ensure a smooth, even surface. Typically, two to three coats are recommended for optimal protection.
Maintenance and Care
Regular maintenance and care are essential to keep your newly restored floors looking their best.
- Regular Cleaning: Keep the floors clean by sweeping or vacuuming regularly to remove dirt and debris that can scratch the surface. Use a damp mop for cleaning, but avoid excessive water, which can damage the wood.
- Protective Measures: Place felt pads under furniture legs to prevent scratches and use rugs in high-traffic areas to reduce wear. These measures help protect the finish and extend the life of your floors.
- Avoiding Harsh Chemicals: Use gentle cleaning products designed for wood floors to preserve the finish. Avoid harsh chemicals that can strip the finish or damage the wood.
Special Techniques
For specific floor types or additional restoration needs, special techniques can be employed.
- Screening: Screening involves using an orbital buffing machine to scuff or abrade the floor’s surface before refinishing. This technique can remove minor scratches and imperfections, making it an excellent option for floors that don’t need full sanding.
- Removing Old Wax: If your floors have a wax finish, you may need to remove it before refinishing. A mixture of tartar cream and white vinegar can effectively strip wax from linoleum or cork floors. Apply the mixture with a cloth, scrub gently, and wipe clean.
Conclusion
Reviving old floors through restoration and refinishing is a meticulous yet rewarding process that can transform worn surfaces into beautiful, durable features in your home. By assessing the condition, preparing and cleaning, sanding and repairing, staining, and applying a protective finish, you can restore the natural beauty of your floors.
Regular maintenance and protective measures will ensure their longevity. With careful attention to detail and the right techniques, your rejuvenated floors will enhance your living space, adding value and charm for years to come.