Creating a flooring installation checklist is essential for ensuring a smooth and successful project. Whether you are a DIY enthusiast or hiring professionals, having a comprehensive list of tools, materials, and preparations can save time and prevent costly mistakes.
Key considerations include selecting the right flooring type, gathering necessary tools, and preparing your space adequately. This checklist will guide you through the essential steps, from removing old flooring to ensuring proper acclimation of new materials. So what’s your flooring installation checklist, by following this guide, you can achieve a beautiful and durable floor that enhances your home’s aesthetic.
Pre-Installation Preparation
Preparing thoroughly before flooring installation is essential to ensure a smooth process and long-lasting results. Below are the main steps involved.
1. Clear the Installation Area
Creating an open, obstacle-free workspace is a crucial first step in ensuring a smooth and efficient flooring installation. Properly preparing the space not only makes the installer’s job easier but also protects your belongings and your home from potential damage.
Remove Furniture and Décor
Start by removing all furniture, rugs, and décor items from the room. This includes smaller pieces like side tables and lamps as well as larger items like couches and beds. Clearing the room completely prevents accidental damage to your belongings and ensures installers have the freedom to work without obstructions.

Protect Adjacent Spaces
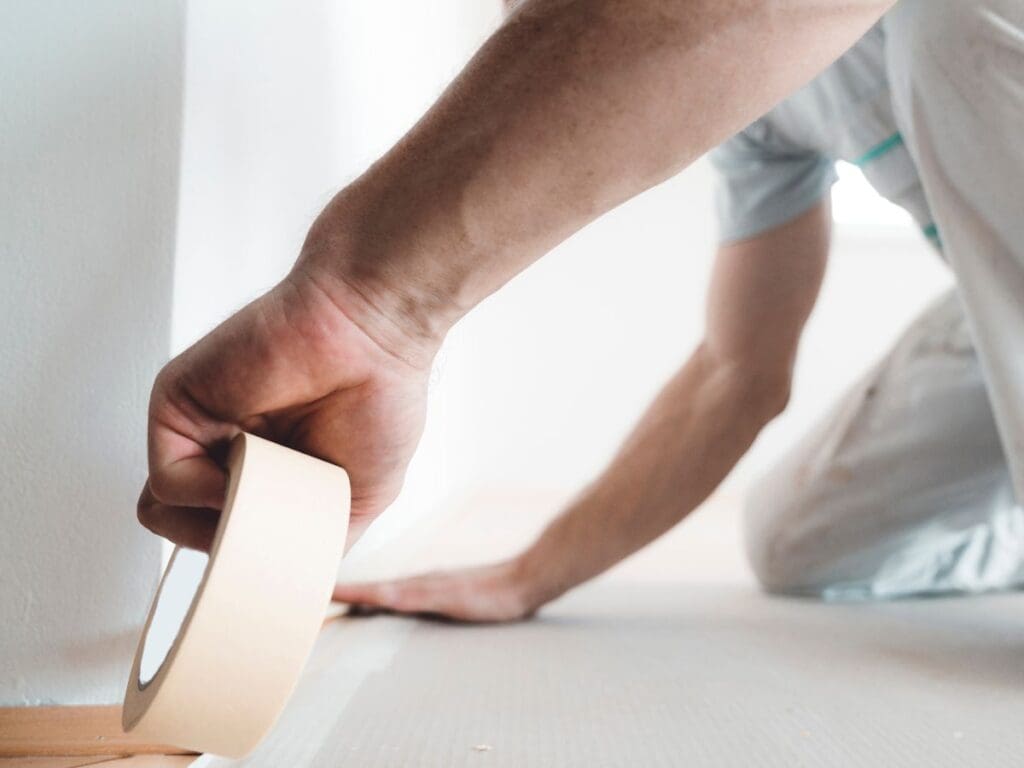
Flooring installation often generates a significant amount of dust and debris, which can easily spread to nearby rooms if precautions aren’t taken. Protect adjacent areas by taping plastic sheeting over doorways, vents, and other openings to contain the mess. Painter’s tape works well for securing plastic without leaving residue on surfaces. You may also want to cover any furniture or electronics in adjoining spaces to shield them from airborne particles.
Inspect the Area for Hazards
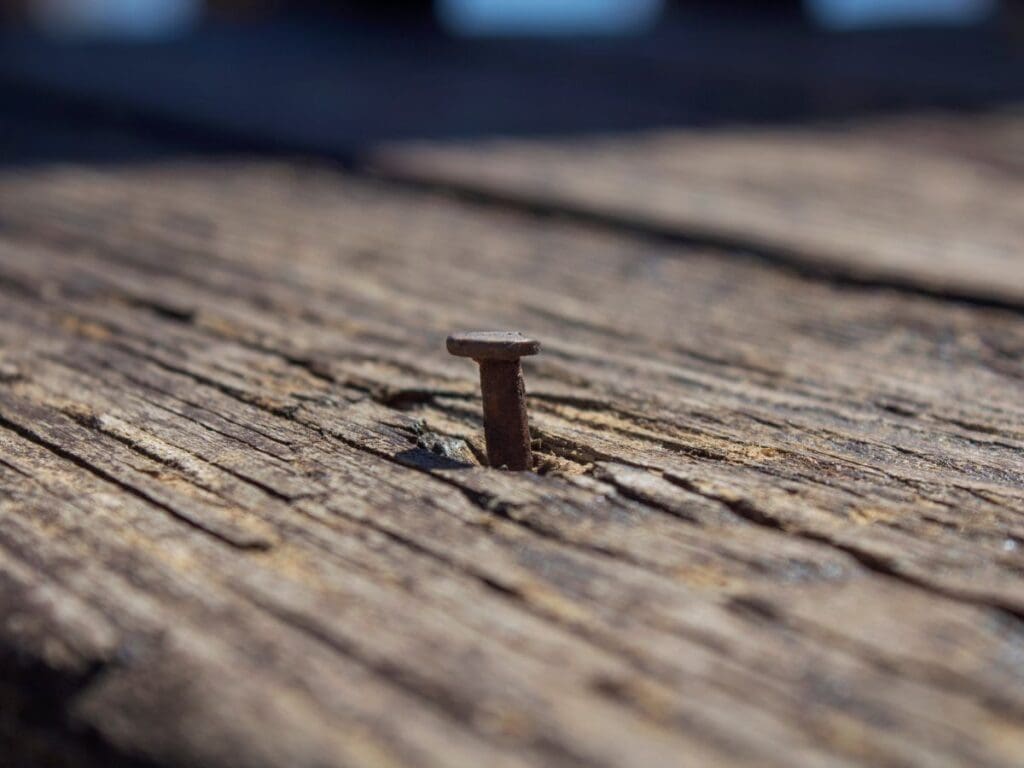
Before installation begins, carefully inspect the area for potential hazards that could interfere with the process or cause injuries. Common issues include protruding nails, staples, or screws left behind from previous flooring or subfloor repairs. Removing these hazards is critical to creating a smooth and safe surface for the new flooring.
2 Check the Subfloor
Your subfloor is the unsung hero of a successful flooring installation. It provides the foundation for your new floors, and its condition directly affects their durability, appearance, and long-term performance. Ensuring the subfloor is in top shape is a critical step that should never be overlooked. Here’s how to thoroughly evaluate and prepare your subfloor for installation.
Inspect for Damage
Begin by closely examining the subfloor for visible signs of damage, such as cracks, stains, or sagging. These issues can compromise the structural integrity of your new flooring. Moisture stains, in particular, are a red flag, as they can weaken the subfloor and lead to long-term problems like warping or mold growth.
Level the Surface
An uneven subfloor is one of the most common culprits behind poorly installed flooring. It can cause alignment problems, leading to gaps, creaks, or a crooked appearance. Taking the time to level the subfloor ensures a stable foundation and a professional finish.
Perform a Moisture Test
Moisture is one of the biggest threats to many types of flooring, including hardwood, laminate, and vinyl. Excess moisture in the subfloor can lead to swelling, warping, or adhesive failure, ruining your new flooring over time. Testing for moisture is an essential step, particularly in basements or areas prone to dampness.
3 Confirm Measurements and Materials
Accurate measurements and high-quality materials are essential for a successful flooring installation. This step ensures you have enough material while avoiding costly mistakes.
Double-Check Room Dimensions
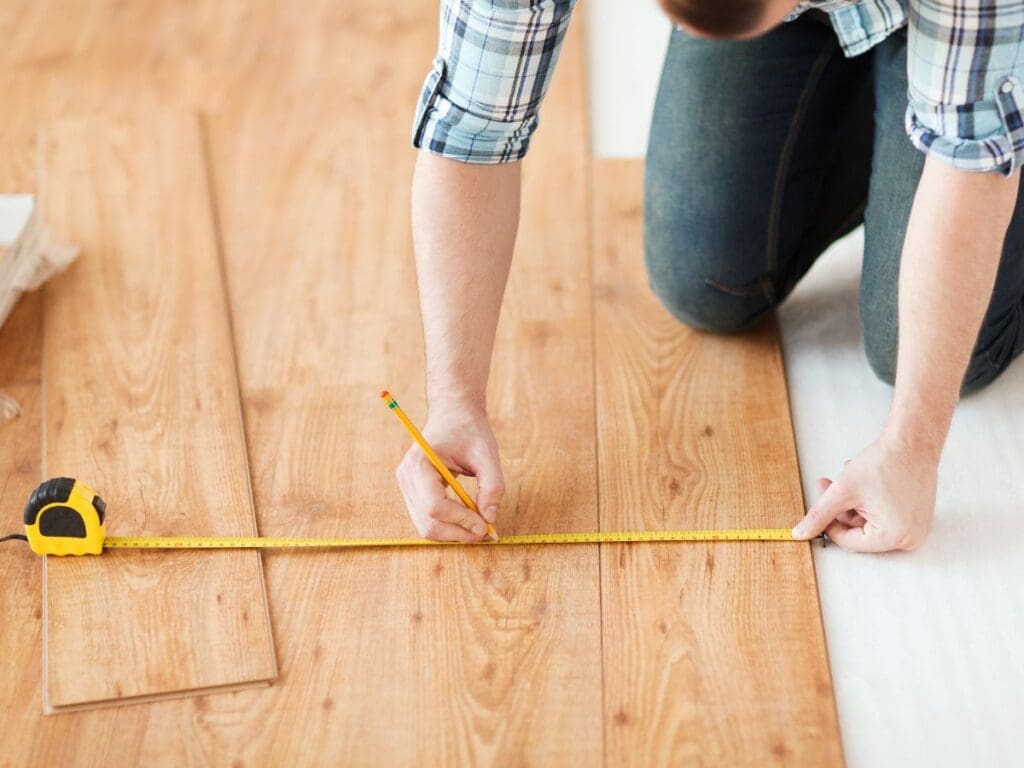
Measure the room’s length and width, accounting for irregular areas like closets or alcoves. Divide the room into rectangular sections and calculate the total square footage. Add 10% to your total to cover potential waste, cuts, or future repairs.
Inspect Your Flooring Materials
Before installation, open the flooring boxes and check the planks or tiles for damage, such as scratches, dents, or warping. Ensure the color, pattern, and texture align with your expectations. For natural materials like wood, lay out several pieces to preview the overall look.
Plan Material Placement
For patterned or multi-tonal flooring, decide on the arrangement before installation begins. A well-thought-out layout prevents awkward cuts or mismatched patterns, especially in highly visible areas like entryways.
Installation Process
With your space prepped and materials ready, it’s time to start the installation. This phase demands attention to detail and patience to ensure a professional, long-lasting result. Here’s how to handle the installation process step by step.
1. Acclimate the Flooring
Acclimating flooring is essential for materials like hardwood, laminate, and engineered wood that expand and contract with changes in temperature and humidity. This process prevents issues like gaps or buckling after installation.
To acclimate, lay the flooring flat in the installation room with boxes open for 48-72 hours (or as advised by the manufacturer), ensuring proper air circulation and avoiding direct sunlight, vents, or heat sources. Maintain recommended room temperature and humidity levels using a hygrometer, adjusting conditions as needed to ensure long-term flooring performance.
2 Lay Out a Plan
Proper planning ensures a visually appealing and evenly installed floor. Begin by measuring the room and marking a straight reference line using a chalk line or laser level for consistent alignment.
Focus on high-visibility areas, placing full planks or tiles in prominent spaces like doorways and avoiding narrow or awkward end pieces. Dry fit a few rows of flooring to test fit and alignment, especially for patterned or tile designs, making adjustments to avoid mismatched seams or gaps.
Secure the Flooring
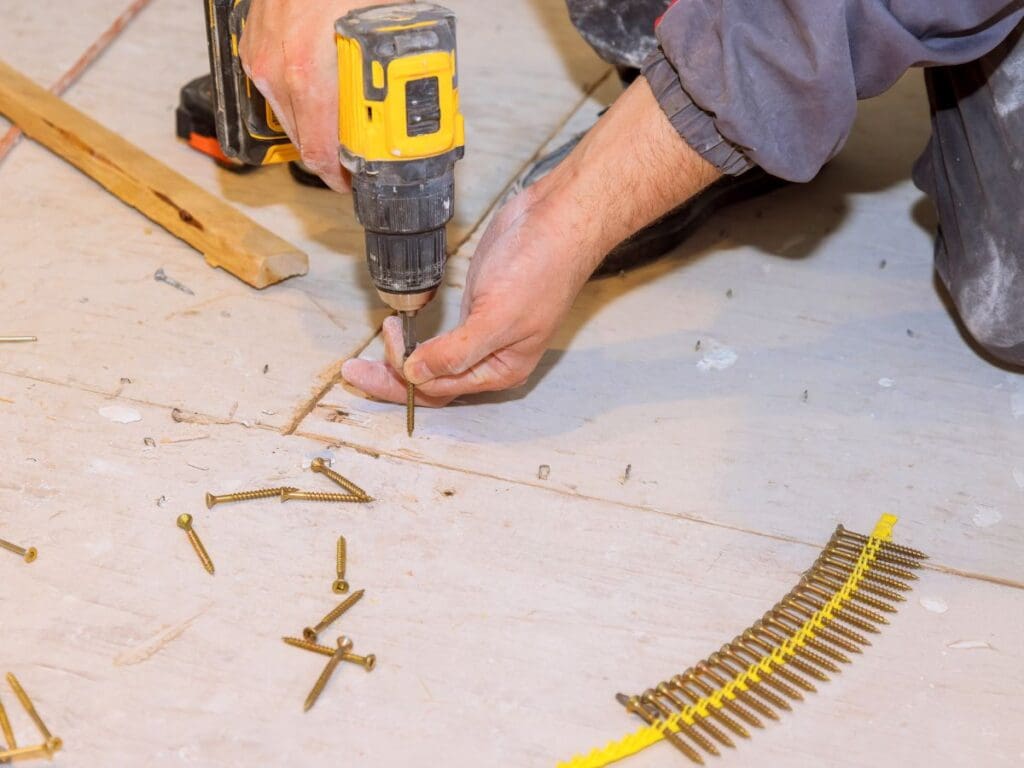
Once the layout is finalized, it’s time to secure the flooring. Depending on the material, the method of installation will vary. Securing flooring depends on the material and installation method:
- Nailing/Stapling: Use a flooring nailer to secure solid hardwood or engineered wood at a 45-degree angle through the tongue of each plank, ensuring rows are aligned.
- Glue-Down: Apply adhesive for vinyl or engineered wood in small sections, pressing each piece firmly to avoid air pockets or uneven spots.
- Floating Floors: For laminate or click-lock flooring, interlock pieces start in one corner, ensuring tight seams.
Periodically inspect alignment during installation to make adjustments as needed for a flawless finish.
Post-Installation Considerations
Once your new flooring is installed, you’re almost done—but there are still a few key steps to ensure it looks great and lasts for years to come. Proper post-installation care is just as important as preparation and installation. Let’s walk through the essential steps to keep your new flooring in excellent condition.
Clean the Flooring
After installation, your flooring may have dust, debris, or adhesive residue left behind. Cleaning it thoroughly is the first step to enjoying its fresh appearance. Use the appropriate cleaning method based on your flooring material to avoid damage or streaks.
For hardwood or laminate, a dry mop or vacuum with a soft brush attachment works best to pick up loose particles. Avoid using water or harsh chemicals, as these can warp or damage the surface.
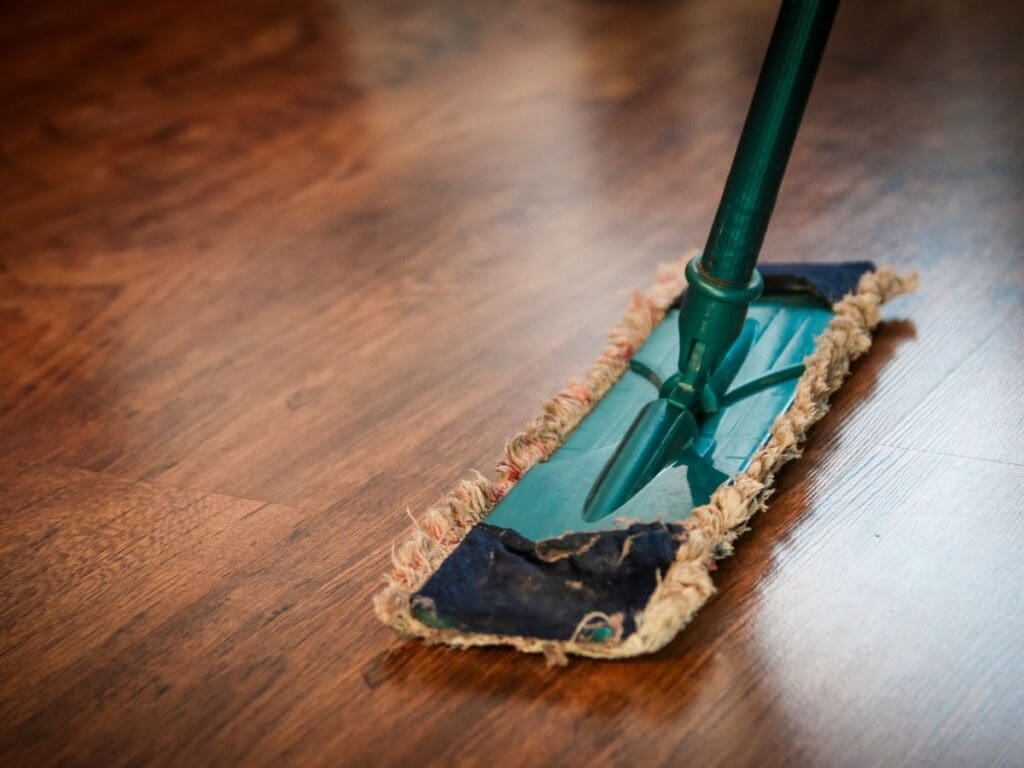
Tile or vinyl flooring may require a damp mop with a mild cleaner, but be cautious not to let water pool. If you’ve installed wood shingle siding indoors as part of your design, the same principles of gentle cleaning and care apply. Always follow the manufacturer’s recommendations to protect your investment.
Inspect for Imperfections
While professional installers aim for perfection, small issues can occasionally arise after installation. Take a close look at your flooring for gaps, uneven edges, or any signs of misalignment.
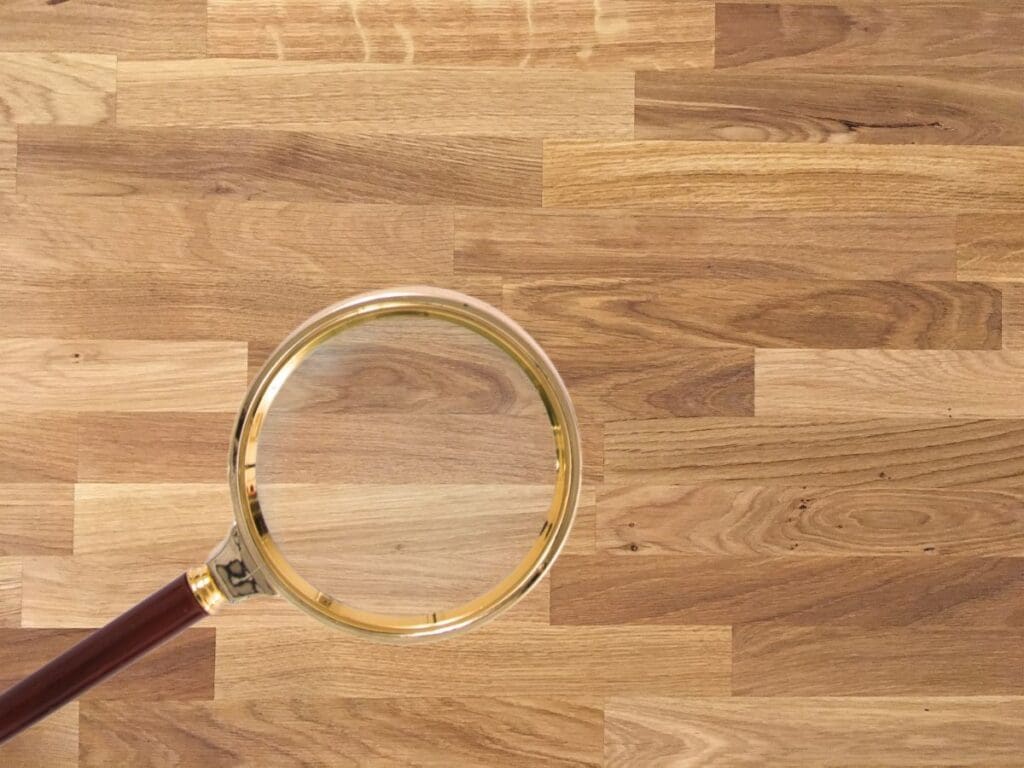
Addressing imperfections early prevents long-term problems and enhances the overall finish. For small gaps, fillers that match the color of your flooring can create a seamless look. If you notice uneven planks or tiles, consult your installer immediately to discuss adjustments.
Minor adjustments now can save you from significant repairs down the road. Remember, thorough inspection and quick action are crucial steps to ensuring your new floor looks flawless.
Plan for Maintenance
Regular maintenance is key to preserving the beauty and functionality of your flooring. Each material requires different care, so familiarize yourself with the best practices for your specific type of flooring. For hardwood, consider applying a protective finish every few years to maintain its luster and durability.
Laminate flooring benefits from regular sweeping and dry mopping to prevent scratches. For tile, sealing grout lines can protect against stains and moisture. If your flooring is in high-traffic areas, placing rugs or mats in entryways can reduce wear and tear.
Allow Time for Settling
Newly installed flooring often needs time to settle into place. For hardwood or laminate, the material may naturally expand or contract as it adjusts to the room’s temperature and humidity. Avoid moving heavy furniture back into the space too quickly, as this can disrupt the settling process or cause damage.
Most experts recommend waiting 48-72 hours before arranging furniture. Use furniture pads or coasters to prevent scratches or dents when you do move items back. This simple step goes a long way in maintaining the pristine look of your flooring.
Protect Your Investment
Your new flooring is a significant investment, so take steps to safeguard it from potential damage. Use area rugs in high-traffic zones and entryways to trap dirt and debris before they can scratch the surface. Routine cleaning and protection can dramatically extend the lifespan of your floors.
Conclusion
A well-prepared flooring installation checklist is your best ally in navigating the complexities of flooring projects. By meticulously planning and gathering all required tools and materials, you minimize the risk of delays and errors. Remember to address the preparation of your space, including removing old flooring and ensuring proper humidity levels for your new materials. With this checklist in hand, you can confidently tackle your flooring installation, resulting in a stunning finish that adds value to your home.

